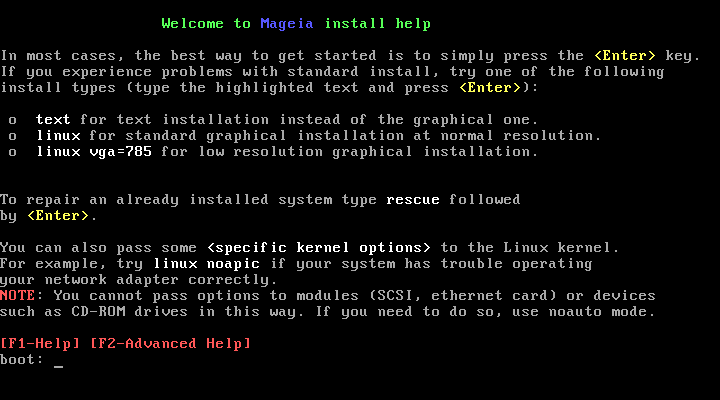
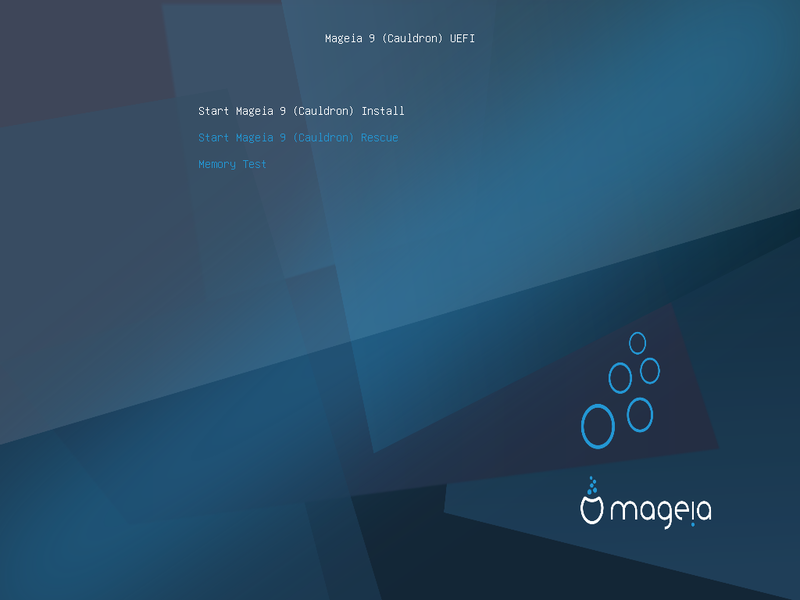
The particular Welcome Screen that you will see when booting with the NetInstall media depends on whether you are booting on a BIOS or UEFI system. See the following two screenshots:
When booting up, you can choose to read the advanced help by pressing F2 and return to the installer screen by pressing F1. Otherwise, the boot will continue with default settings.
Použijte šipky pro zvýraznění Zahájit instalaci Mageii a zmáčkněte Enter.
For both BIOS and UEFI systems, you will then see a pop-up notification saying that USB devices are being detected:

Nyní můžete zvolit instalační metodu pomocí CD/DVD, nebo serveru (NFS, FTP nebo HTTP).
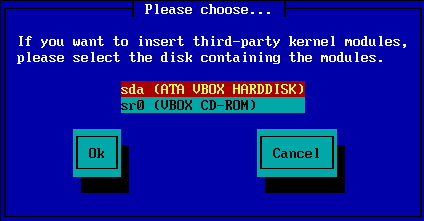
You also have the option to load third-party modules at this point.
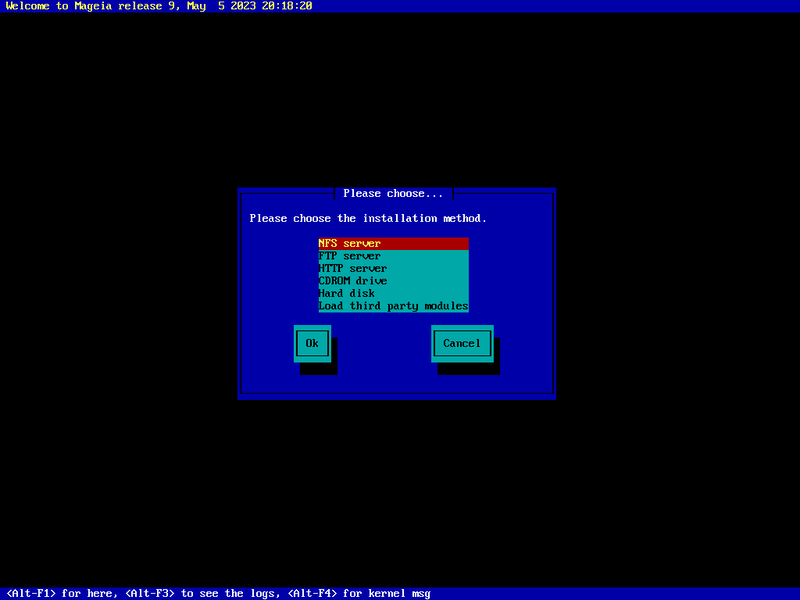
Šipkami nahoru a dolu se pohybujete v seznamu. Vybraná instalační metoda je zvýrazněna.
Stiskněte klávesu Tab, až dokud se nezvýrazní OK, a následně stiskněte klávesu Enter.
Pokud nevíte, co zvolit pro síťovou instalaci, zvolte FTP server.
Ve firemních sítím může být protokol FTP a rsync blokován. V takových případech je dobré zvolit HTTP server.
Jakmile zvolíte některou ze serverových voleb, budete pokračovat do části Network Connection.
If you choose to install from either a CDROM or hard disk (or USB stick), a scan for storage devices will be performed:

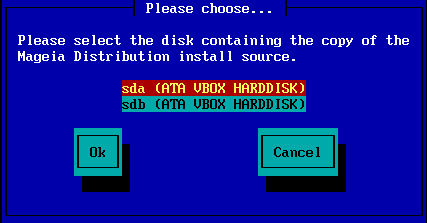
Nejdříve vyberte příslušný pevný disk (nebo USB klíčenku)
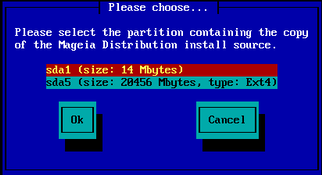
Followed by the relevant partition
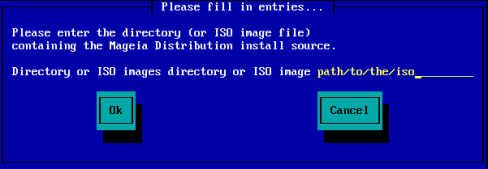
Then specify the directory or the file name of the ISO
Leaving this open, or using the directory is easier, because the installer then presents you with a list of directories and files from which you can make your selection using the up and down arrows, as seen in the second of the following images.
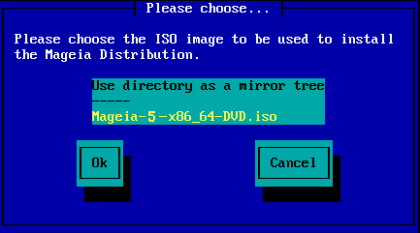
Once the information has been provided for the location of the ISO, either on CDROM or HDD, you will automatically proceed to Stage 2 (the actual installation stage).
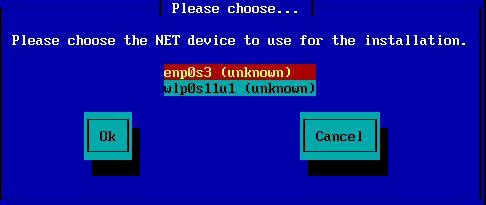
If you chose any of the server options at the Installation Method step, you will then be asked to choose a network device:
Now you need to choose whether the network device will use a DHCP, Static or ADSL connection:
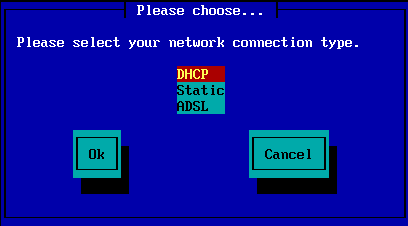
If you are unsure which option is suitable, then you should probably accept the default option (DHCP).
Pokud je to nutné, nyní můžete poskytnout název serveru a doménu:
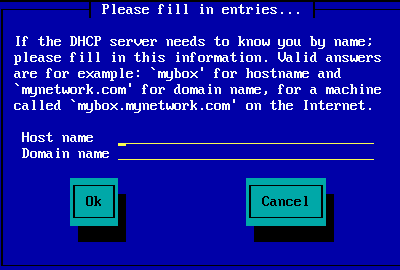
If you are unsure what this means then you can just leave the fields blank, highlight Ok and press Enter to proceed. The network connection will now be activated.
If you are using either FTP or HTTP, you will automatically proceed to the Mirrors section
If you are using NFS, you will be asked for the NFS server name and the directory containing the Mageia distribution:
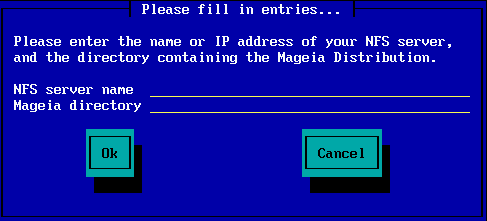
After entering the NFS details, you will automatically proceed to Stage 2 (the actual installation stage).
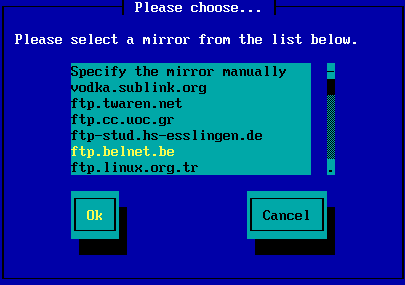
If using FTP or HTTP, you now have to specify a mirror to use. This can be done manually or by choosing from a list
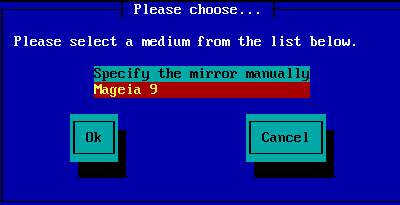
Zde naleznete seznam všech dostupných zrcadel: http://mirrors.mageia.org/
Whichever mirror you choose, it should use the same tree-like structure from "mageia" (or "Mageia") as used by the official Mageia mirrors. That means .../mageia/distrib/<version>/<arch>
A correct entry (when using an official mirror) in the Mageia directory field below, could be:
pub/linux/mageia/distrib/cauldron/i586
Dalším příkladem (pro Mageiu 6 x86_64) je:
pub/Mirrors/Mageia/distrib/6/x86_64
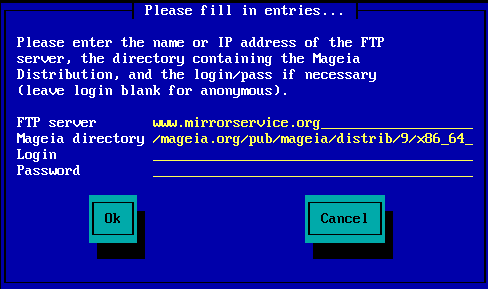
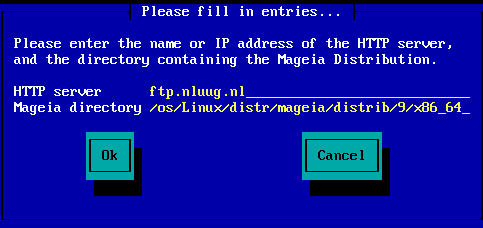
Other mirrors may have a different path structure and the screenshots below show such examples:
Pokud používáte server FTP:
Pokud používáte server HTTP:
Once this information has been provided, you will automatically proceed to Stage 2 (the actual installation stage).
Pokud během instalace později dostanete spoustu chybových hlášení o chybějících závislostech, proveďte restart a zkuste jiné zrcadlo.
After choosing an FTP server, you will see a screen where you can optionally add a login name and password if required.
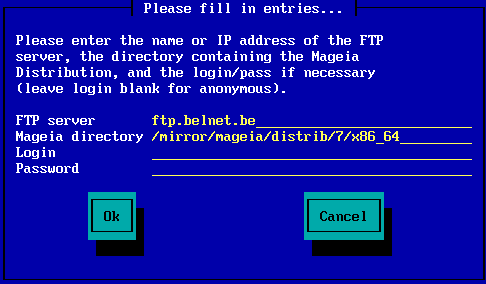
Once this information has been provided, you will automatically proceed to Stage 2 (the actual installation stage).


